

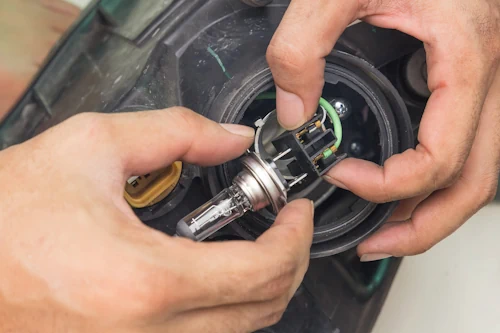
Over time, your headlights can become dim or even fail altogether, reducing visibility and safety on the road. Changing your headlights is a straightforward process that you can complete using basic tools and a little patience. This guide will help you through each step of the process.
Tools and Materials You’ll Need
- Replacement headlight bulbs (check your owner’s manual for the correct type)
- Screwdrivers (flathead and/or Phillips, as needed)
- Gloves to protect your hands and keep oils off the new bulbs
- Owner’s manual for proper bulb specifications
Step-by-Step Instructions
- Preparation:
Begin by turning off your vehicle and opening the hood. Allow the headlight assembly to cool down if the vehicle has been running.
- Locate the Headlight Assembly:
Find the back of the headlight assembly where the electrical connector is attached. In many vehicles, you can access this area from within the engine bay.
- Disconnect the Electrical Connector:
Carefully unplug the wiring harness from the headlight. This may involve pressing a tab or gently prying up a connector clip.
- Remove the Old Bulb:
Depending on your vehicle’s design, you may need to remove a retaining clip or unscrew a housing cover to access the bulb. Once exposed, take out the old bulb without touching the glass.
- Install the New Bulb:
Handling the new bulb with gloves, insert it into the socket. Ensure it is securely fitted and avoid touching the glass portion, as oils from your skin can shorten the bulb’s lifespan.
- Reconnect and Test:
Reconnect the electrical plug and secure any retaining clips or covers. Close the hood and turn on your headlights to test the new installation.
Additional Tips
- Always check your owner’s manual for specific instructions related to your make and model.
- Work in a well-lit area so you can see all the components clearly.
- If a headlight still doesn’t function after replacement, double-check the electrical connections or consult a professional.