

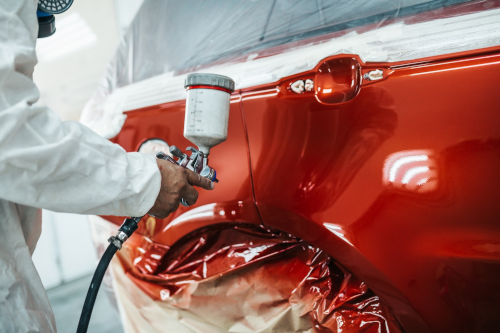
Spot repair restores a panel’s look without a full respray. The secret is rigorous prep, correct materials, and a blend edge so clean it vanishes—even under unforgiving light.
Prep is 80% of success
- Assess: clearly frame the repair zone; mark chips, scratches, dents.
- Sanding: P400→P600 on the defect; P800–P1000 over the future blend area. Feather the edges.
- Degrease: before every layer; clean cloths, no flooding.
Materials and matching
- Primer: light coats; follow TDS for flash times. Level out scratch pattern and pinholes.
- Basecoat: code + spectro match; do a spray‑out card first.
- Clear: activator speed matched to booth temp; use a blender to soften the edge.
A perfect blend line
- Keep base tight to the defect area—avoid ribs/character lines.
- Clear with overlap; fade into a pre‑matted P3000 zone.
- After cure, finish with a fine anti‑hologram polish on the transition.
Tips for DIY and shops
- Narrow fan, stable pressure; always test on a card first.
- Don’t skimp on abrasives and wipes—the job goes faster and cleaner.
- Warm booth and clean air mean far less dirt in clear.
Mistakes to avoid
- Base spread too wide → visible tone shift. Solution: tighten the area and adjust tint.
- Runs on the fade edge → prep a wider matte area and use blender correctly.
- Rushing polish → wait for full cure per TDS.
Bottom line
Spot repair is precision work. Invest time in prep and follow material TDS to the letter—the blend will stay “invisible.”