

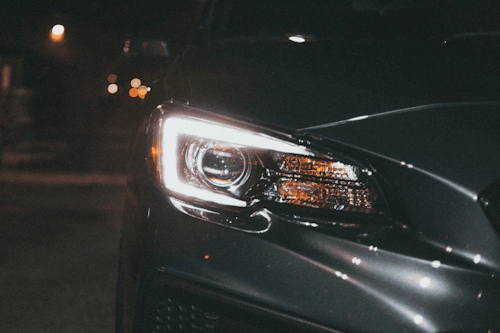
Driving with failing headlights isn't just inconvenient – it's downright dangerous. After three decades of wrestling with automotive electrical gremlins from Detroit to Dubai, I've distilled a battle-tested approach to diagnosing headlight failures. Forget guesswork; we're going systematic. This guide walks you through professional diagnostic techniques that'll transform you from frustrated driver to lighting master.
The Headlight Autopsy: Where to Start When Darkness Falls
Rule #1: Never throw parts at the problem. Electrical issues demand methodical diagnosis. Grab your multimeter, a test light, and let's get surgical:
Phase 1: Power Circuit Investigation
- The Fuse Interrogation
Locate your fuse box (consult owner's manual). Check both primary and secondary fuse panels. Probe both fuse legs with a test light – if only one side lights up, you've found the culprit. Remember: visual inspection lies. I've seen fuses that looked intact but failed under load.
- Relay Reconnaissance
Find the headlight relay (usually labeled in fuse box diagram). Swap it with an identical relay (horn or AC relays often match). No change? Test the relay socket: with ignition ON, one terminal should be hot (12V), another should ground when the headlight switch activates. Missing power? Trace upstream.
Phase 2: Bulb & Socket Forensics
- Bulb Post-Mortem
Remove the bulb and inspect the filament with a flashlight – shattered filaments or blackened glass mean replacement. But here's what most miss: check the bulb base for melted plastic or discoloration. This indicates resistance build-up at the contacts.
- Socket Autopsy
Corroded sockets murder bulbs prematurely. Examine contacts for green crust or bent prongs. Test voltage at socket contacts: less than 11.5V when illuminated? You've got upstream resistance. While powered, wiggle the harness – intermittent flicker reveals broken wires.
Phase 3: Advanced Circuit Diagnostics
- Ground Verification
Bad grounds cause 40% of "mystery" electrical faults. Find the headlight ground point (often near radiator support). Disconnect, sand contact area to bare metal, resecure. Still no joy? Run a temporary ground wire from battery negative to socket ground wire.
- Switch Endurance Testing
Dashboard switches fail gradually. Test switch output voltage at the connector. Significant voltage drop across the switch indicates internal resistance. Bypass the switch with jumper wires – if lights blaze bright, condemn the switch.
- Harness Archaeology
Inspect wiring where it passes through fender wells or near sharp brackets. Rodent damage often appears near airboxes. Use needle probes to test wire integrity without stripping insulation.
War Story: The Phantom Ford
2004 F-150 with intermittent low beams. Fuses, relays, bulbs all tested fine. Finally discovered the multifunction switch connector had thermal collapse – pins overheated during prolonged use, separating when cooled. The fix? New connector pigtail and dielectric grease. Moral: connectors need love too.
Preventative Measures for Eternal Light
- Dielectric Defense: Coat all electrical contacts with dielectric grease after repairs
- Voltage Vigilance: Monthly checks for charging system voltage (13.8-14.4V optimal)
- Lens Preservation: Apply UV-resistant headlight sealant annually to prevent oxidation
- Upgrade Path: Consider relay harness kits for older vehicles – reduces load on factory switches
When to Wave the White Flag
Modern CAN-BUS systems (post-2005) require specialized diagnostics. If you encounter:
- Error messages like "Headlight Malfunction"
- Automatic leveling system failures
- Daytime Running Lights (DRL) module issues
...it's time for professional scan tools. The days of pure mechanical diagnosis are fading faster than poorly-maintained headlight lenses.
Final Illumination: Headlight restoration isn't witchcraft – it's voltage, continuity, and corrosion management. Master these fundamentals, and you'll never fear the dark again. Now go shine some light on that project car!