

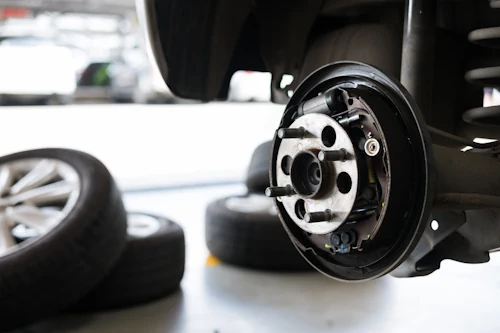
A properly functioning wheel hub assembly is vital for safe driving and overall vehicle performance. Duralast wheel hubs are designed to provide durable, reliable service for your car. In this guide, we’ll walk you through the process of replacing your old wheel hub assembly with new Duralast hubs, ensuring proper installation and long-lasting performance.
Step 1: Gather Your Tools and Prepare
Before beginning the installation, make sure you have the following tools and safety equipment:
- Jack and jack stands
- Lug wrench or impact wrench
- Socket set and wrenches
- Pry bar or a suitable tool for removing components
- Hammer and punch (if needed for stubborn parts)
- Gloves and safety glasses
Always work on a flat, stable surface and properly secure your vehicle on jack stands before starting any disassembly.
Step 2: Remove the Old Wheel and Hub Assembly
- Remove the Wheel: Begin by loosening the lug nuts while the vehicle is still on the ground. Once loosened, raise the vehicle with a jack and secure it with jack stands. Remove the lug nuts and take the wheel off.
- Detach the Brake Components: Depending on your vehicle’s design, you might need to remove the brake caliper and rotor to access the hub assembly. Keep track of all hardware for reassembly.
- Take Out the Old Hub: Locate the hub bolts and any additional fasteners. Carefully remove these using the appropriate tools. In some cases, a gentle tap with a hammer or a pry bar may be necessary to loosen the hub from its mounting.
Step 3: Install the New Duralast Wheel Hub
With the old hub removed, it’s time to install your new Duralast wheel hub.
- Prepare the Area: Clean the mounting surface thoroughly to ensure a proper fit for the new hub.
- Position the New Hub: Align the new Duralast hub with the mounting points on the spindle. Insert and hand-tighten the bolts or fasteners to secure the hub in place.
- Tighten and Torque: Using a torque wrench, tighten all fasteners to the manufacturer’s specifications. This step is crucial for ensuring the hub assembly is secure and safe for operation.
- Reassemble the Brake Components and Wheel: Once the hub is securely installed, reinstall the brake rotor and caliper. Finally, place the wheel back on, hand-tighten the lug nuts, and then torque them to the recommended settings.
Final Checks and Test Drive
After reassembling your wheel hub, give the installation a visual inspection to ensure everything is aligned properly. Lower your vehicle from the jack stands and take a short test drive to verify that there are no unusual noises or vibrations. If everything feels right, you’ve successfully completed the installation.