

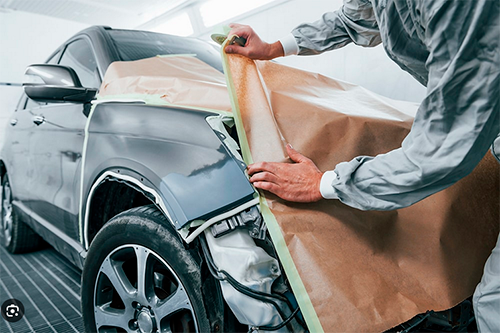
Stone chips, key lines, parking‑lot dings—some fixes are perfect for a careful DIYer, others belong at the booth. Here’s a straight test to decide, what tools actually help, and how to blend so the repair disappears outdoors, not just under shop lights.
Decide in 60 seconds
- Depth: if your nail catches metal or primer over a wide area, booth time.
- Location: edges/ridges are hard to hide; flat mid‑panel is DIY‑friendly.
- Area: a credit‑card size or smaller is realistic at home.
Minimal kit that pays off
- Abrasives: P400→P600 (defect), P800–P1000 (blend), P2000–P3000 (matting)
- Primer‑surfacer, base matched by code + spray‑out card, clear + blender
- Masking, degreaser, two polishing compounds (cut / anti‑hologram)
Workflow that hides the edge
- Map the defect: confine the repair; don’t chase perfection across the panel.
- Feather: taper chip edges with P400→P600; finish the blend zone in P800–P1000.
- Prime thin: just enough to fill; level with a guide coat.
- Basecoat tight: keep color inside the defect ellipse; test on a card first.
- Clear + blend: clear slightly beyond base; fade into a P3000 matte halo with blender.
- Cure & refine: after full cure, micro‑sand dust nibs and polish the transition only.
Costs & risks
- DIY: ~$40–120 in materials; risk—visible tone shift if base spreads too far.
- Shop: $150–400 spot; perfect match, warranty, no learning curve.
Common mistakes
- Wide base fan → color mismatch. Keep it tight and adjust tint.
- Overloading clear on the fade edge → runs. Matte wider and use blender.
- Polishing too early → dull spot later. Follow TDS cure times.
Bottom line: small, flat, shallow repairs shine at home; edges, complex pearls and large areas—let a pro spray it once.