

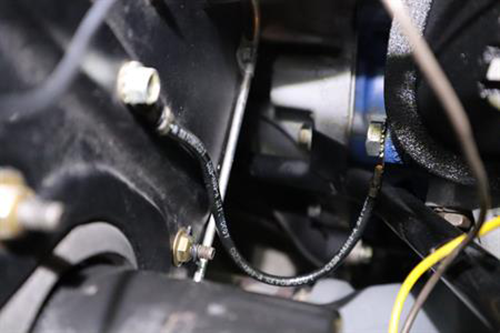
Random electrical gremlins on your Chrysler Town & Country or Dodge Grand Caravan (2008–2016)? Flickering lights, phantom codes, gauges that glitch—often it's not modules or sensors but corroded ground points. This guide shows where the key grounds hide and how to restore them without rewiring half the van.
Owner's scenario
Tom's 2011 Town & Country had cluster lights dimming when the blower ran high, random ABS codes, and intermittent no‑start. Three shops chased modules; the real fault was two crusty ground lugs behind the battery tray.
Why grounds matter (and why they fail on vans)
The Chrysler minivan platform has several chassis ground points; salt, moisture and vibration corrode the studs and lugs. High resistance at a shared ground affects multiple circuits—hence "random" symptoms that don't fit one system.
Key ground locations (– Caravan/Town & Country)
- G100 series (battery tray area): main engine/trans grounds; corrosion here affects gauge cluster, BCM, ABS.
- G200 (left fender/strut tower): headlights, horn, washer pump.
- G300 (right side engine bay): PCM, injectors, coils.
- Interior grounds (under dash): HVAC blower, radio, power windows.
Consult factory wiring diagrams via 7zap or a service manual for exact locations on your VIN.
Diagnosis in 10 minutes
- Note which systems share the symptom—if cluster + ABS + blower all act weird, suspect a common ground.
- Voltage drop test: key‑on or engine running, measure from battery − to suspect ground lug—target <0.1 V; higher = resistance.
- Visual: remove the lug, inspect stud threads and contact face for green crust or paint.
Restoration, step by step
- Disconnect battery.
- Remove the ground lug(s); clean stud threads with a wire brush or tap if corroded.
- Sand the chassis contact face to shiny metal (80–120 grit).
- Clean lug ring terminals; replace if cracked or heavily corroded.
- Reinstall with a star washer under the nut; torque to spec (~10–15 ft‑lb typical, verify for your platform).
- Apply a thin coat of dielectric grease or anti‑seize on the threads (not the contact face).
Post‑repair validation
- Reconnect battery; clear codes; verify voltage drop is now <0.1 V.
- Road test with all electrical loads (headlights, blower, rear defog); watch for dimming or glitches.
- Confirm no new codes and gauges behave normally.
Case outcome for Tom
Two ground lugs (G100 and G104) cleaned and re‑torqued with star washers. Cluster dimming stopped; ABS codes cleared and stayed gone; no‑start issue vanished. Total cost: $0 in parts, 45 minutes of work.
Tools you need
- Multimeter, wire brush, sandpaper (80–120 grit), dielectric grease
- Socket set, star washers (M8 or M10 typical), torque wrench
- Factory wiring diagrams or a service manual for ground point IDs
Where to find Caravan/Town & Country wiring diagrams
The 7zap catalog has connector layouts and ground point diagrams for your VIN: chrysler.7zap.com (Town & Country) or dodge.7zap.com (Grand Caravan).
Common mistakes
- Leaving paint or rust under the lug—creates resistance that returns in months.
- Over‑torquing thin studs—strips threads in the chassis.
- Skipping the voltage drop test—you can't confirm the fix without it.
Long‑term prevention
- Inspect main grounds every 2 years or at major service intervals.
- Apply a light coat of corrosion spray (CRC or similar) after cleaning—slows oxidation.
- If you're in the salt belt, consider stainless hardware upgrades at key ground points.
Bottom line: ground faults mimic expensive module failures; a wire brush and 30 minutes often beat a $500 parts guess.