

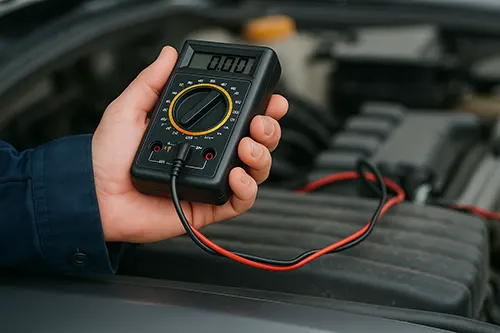
Overheating in traffic but temp drops when moving? Electric radiator fan diagnosis goes beyond "does it spin." Current draw analysis and module testing reveal weak motors, failing relays, and control module faults without guesswork.
Baseline current draw specifications
| Vehicle class | Fan size | Normal draw (low speed) | High speed |
|---|---|---|---|
| Compact car | 11–12 inch | 8–12 A | 15–20 A |
| Midsize sedan | 12–13 inch | 10–15 A | 18–25 A |
| SUV/truck | 14–16 inch | 12–18 A | 22–35 A |
Current draw diagnostic procedure
- Clamp ammeter on fan power wire.
- Command fan on with scan tool or jump relay.
- Measure:
- Low = motor brushes worn or resistance in circuit
- High = bearing failure or blade obstruction
- Intermittent = failing module or bad ground
Fan module vs simple relay systems
Simple relay (older vehicles)
- Single-speed or two-speed via resistor
- Easy diagnosis: jump relay; if fan runs, relay is fault
- If fan doesn't run with direct 12V, motor is bad
PWM module (2010+ common)
- Variable speed via pulse-width modulation
- Module failure: fan stuck at one speed or erratic
- Diagnosis requires scan tool to command different speeds and monitor actual vs commanded
Ground circuit importance
Fan motors draw high current; poor ground causes:
- Reduced speed (voltage drop from resistance)
- Intermittent operation
- Burned connectors from heat buildup
Test: measure voltage drop from fan ground to battery negative under load; should be <0.2V.
Platform examples with testing data
Honda Civic 2016 (single fan, PWM module)
- Normal draw at 30% duty: 6A
- Normal draw at 100% duty: 18A
- Observed failure: module stuck at 100%; 18A continuous—burned connector
Toyota RAV4 2018 (dual fans)
- Low speed (one fan): 12A
- High speed (both fans): 28A combined
- Common fault: relay for fan #2 fails; only one fan runs
Replacement procedure (motor)
- Disconnect battery; remove fan shroud assembly (typically 4–6 bolts).
- Unplug fan connector(s).
- Separate motor from shroud (usually 3–4 screws).
- Install new motor; verify blade balance before reinstalling shroud.
Module replacement (PWM type)
- Locate module (often attached to shroud or radiator support).
- Disconnect harness; unbolt module (2–3 screws).
- Install new module; verify part number matches (modules are often platform-specific).
Costs
- Fan motor: $60–150
- PWM module: $80–200
- Relay: $10–25
- Shop diagnosis + labor: $120–300
Current draw testing eliminates 50% of unnecessary fan motor replacements; many "bad fan" calls are actually module or relay faults.
PWM module bench testing
Removed module can be tested with power supply and oscilloscope:
- Apply 12V and ground
- Simulate ECU command signal (5V PWM or CAN, depending on module type)
- Monitor output to fan; should vary duty cycle smoothly
- Failed modules often stuck at 0% or 100% output
Fan blade balance verification
- Spin fan by hand; should rotate 3+ revolutions freely
- Wobble or vibration indicates bent blade or imbalanced assembly
- Replace if balance is off—vibration damages bearings quickly
Dual-fan systems (common on V6/SUVs)
- Typically one fan for normal cooling; both for A/C or heavy load
- If only one fan runs, test second fan directly (jump relay or module output)
- Often relay for second fan fails while primary works fine
Current draw troubleshooting
| Measured draw | Interpretation | Action |
|---|---|---|
| Normal range | Fan OK | Check control circuit |
| 50% below normal | Brushes worn | Replace motor |
| 200%+ above normal | Seized bearing | Replace motor urgently |
| Spikes/drops | Bad ground or failing module | Test ground circuit first |