

Is this job worth
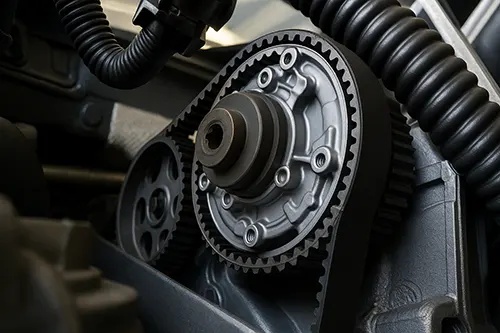
A timing belt job is not “just a belt.” It’s a sequence where small errors have big consequences. If you’re comfortable labeling, taking photos, and working slowly, it’s doable. If you tend to rush the last 10%, this is the wrong job to learn that habit on.
Parts list before start
- Timing belt: correct spec for your engine.
- Tensioner and idlers: many failures are in the rollers, not the belt.
- Water pump (often): if it’s driven by the belt, consider doing it now.
- Seals (as needed): if you see oil contamination, fix the leak or the new belt will suffer.
Tooling and workspace setup
You need stable lighting, a good torque wrench, and the ability to safely support the engine if a mount must come off. Clear the work area so you aren’t stepping over parts. This is a job where organization is part of the toolset.
Expose covers and marks
Remove covers gradually and take photos as you go. Before the belt comes off, locate every timing mark you will rely on. Clean the area so marks are visible. If a mark is ambiguous, paint-mark it for your own visibility.
Set timing marks carefully
Bring the engine to the correct reference position and confirm marks align. Do not assume the previous service was correct—verify. If something looks off, stop and resolve it before you remove tension from the belt.
Remove belt and sprockets
Release tension according to the tensioner design, then remove the belt. If sprockets must come off, keep hardware organized and note orientation. Avoid prying against fragile covers or sealing surfaces.
Install belt and tension
Install the belt with the correct routing order, keeping the non-tensioned side tight while you set the tensioner. Follow the tensioner’s method (pin, pointer alignment, or torque spec—depending on design). If you’re unsure, stop and consult the factory procedure for your exact engine.
Dual-unit reminder for your notes: 9 ft-lb (≈12.2 N·m), 18 ft-lb (≈24.4 N·m), 25 ft-lb (≈33.9 N·m). Use the manual for the real values on critical fasteners.
Hand-rotate and recheck
Before starting the engine, rotate the crank by hand through at least two full revolutions and recheck timing mark alignment. This is your safety net. If marks don’t return correctly, do not “send it”—reset the timing now.
First start checklist
- All tools removed from the bay.
- Covers and mounts installed correctly.
- Belt path verified one last time.
- Start and listen: abnormal noises mean stop and recheck.
Costs, risks, shortcuts
The shortcut that hurts most is skipping rollers/tensioner or ignoring an oil leak. The practical way to save money is doing the parts that require the same labor overlap while you’re already there.
If a timing mark is hard to see, paint-mark it before the belt comes off. Your ‘future self’ will be calmer during recheck, and calm is safety on a timing job.
Do not skip the hand-rotation step. Two full revolutions and a clean recheck is the cheapest insurance you’ll ever buy on this repair.
Common timing-belt failure patterns
The belt itself can look fine while a roller bearing is starting to fail. That’s why kits (belt + tensioner + idlers) make sense: the labor overlap is huge. If you reuse old rollers, you may save a little now and pay again later.
First-start listening checklist
On first start, listen for any rubbing, slapping, or chirping. If you hear something wrong, shut it down and recheck alignment and covers. A ‘wait and see’ approach is risky here—small noises can become big damage quickly.
What to record for the next interval
Write down mileage, parts used, and any mark observations you made (pointer position, tensioner behavior, unusual wear). When the next interval comes, those notes save time and prevent repeating the same uncertainty.